
Internally my nextjs app uses a native node module built in Rust, and the awkward part is that my production uses a different processor architecture. I opted for the arm64 architecture. I can't say much about it except it was recommended by aws, cheaper and more performant. My developing machine uses x86_64 architecture, probably yours uses it too uname -p.
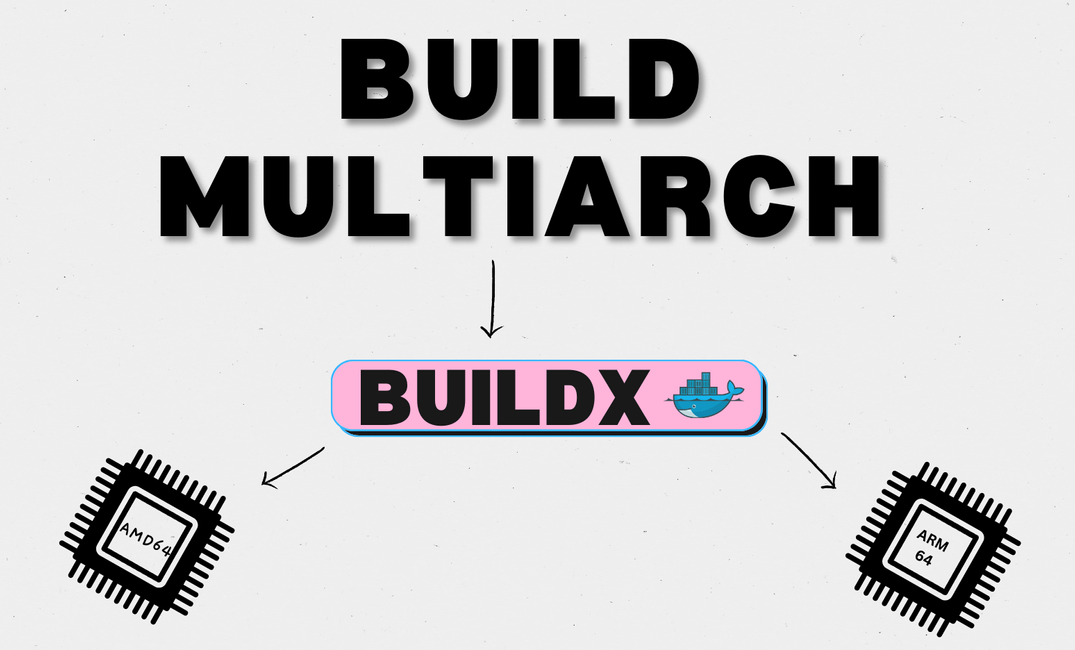
About Buildx
Buildx is a Docker CLI plugin that simplifies building for multi-arch images.
To use Buildx, you need to install it as a Docker CLI plugin and then configure it. Once installed, you can use Buildx just like the normal docker build command, with some additional options to control the build process and target platforms.
1. Configure
Configure buildx by defining a new builder instance:
docker buildx create --name multiarch --platform linux/amd64,linux/arm64 \ --driver-opt network=host --buildkitd-flags '--allow-insecure-entitlement network.host'First line is enough to create a builder called multiarch to build for amd64 and arm64 platforms.
Second line is optional, and means that the builder instance will share the same network namespace as the host machine. I thought by adding this line, npm dependency installs will be faster, but they weren't.
2. Inspect
This will show supported build configuration and start the builder if not started. The --bootstrap flag initializes the builder by starting any necessary services and creating any required network connections. This can be useful if the builder has not been started yet, or if it has been stopped or restarted since the last time it was used.
docker buildx inspect multiarch --bootstrap
3. Build
To build a Docker image for multiple architectures using the buildx command and a specific builder, you can use the --builder flag and specify the name of the builder. Here's an example command:
docker buildx build --builder multiarch --platform linux/amd64,linux/arm64 -t myimage .Build a docker image for aws
You can use any operating system as a starting point, and a good choice would be Amazon Linux 2 image.
Amazon Linux 2 is the latest version of the Amazon Linux operating system, and it is optimized for use on AWS. It includes a variety of pre-installed packages and tools that are commonly used in AWS environments, such as the AWS CLI and the EC2 instance metadata service.
Using the Amazon Linux 2 image can also help ensure that your Docker images are compatible with the AWS environment, which can help reduce issues related to software dependencies and compatibility. Additionally, Amazon provides official Docker images for Amazon Linux 2, which can be a good starting point for building your own custom Docker images.
FROM amazonlinux:2

# Install dependencies
RUN yum update -y && \
    yum install -y curl gcc git make openssl-devel

# Install Rust
RUN curl --proto '=https' --tlsv1.2 -sSf https://sh.rustup.rs | sh -s -- -y

# Add Rust to PATH
ENV PATH="/root/.cargo/bin:${PATH}"

# Install Node.js
RUN curl -sL https://rpm.nodesource.com/setup_16.x | bash -
RUN yum install -y nodejs

# Print versions of Rust and Node.js
RUN rustc --version && node --version

RUN amazon-linux-extras install -y awscli1 && \
    yum clean all && \
    rm -rf /var/cache/yum

CMD ["/bin/bash"]
Testing a different architecture image
Emulation is your friend, to be exact QEMU. If your machine has a different architecture than the Docker image you want to run, you may need to use emulation or virtualization. For example, if you have an x86_64 machine and you want to run an arm64 Docker image, you could use QEMU to emulate the arm64 architecture. Here is an example command:
install and configure qemu emulator from source
# install and configure qemu emulator from source
sudo apt update && apt upgrade -y
sudo apt install make -y
sudo apt install ninja-build -y
sudo apt-get install libpixman-1-dev
wget https://download.qemu.org/qemu-7.2.0.tar.xz
tar xvJf qemu-7.2.0.tar.xz
cd qemu-7.2.0/
./configure
make
docker run --privileged --rm tonistiigi/binfmt --install all
export DOCKER_CLI_EXPERIMENTAL=enabled

# Testing the emulation environment
docker run --platform linux/arm64 --rm -t <your_repository_uri>:<tag> uname -m
#aarch64

# or just run the image and enter the terminal
docker run --platform linux/arm64 --rm -t <your_repository_uri>:<tag>
docker exec -it <dockerid> bash
If you get an error on the last step, probably qemu wasn't installed correctly. In this example I'm installing qemu from source as the default one was faulty in my case.
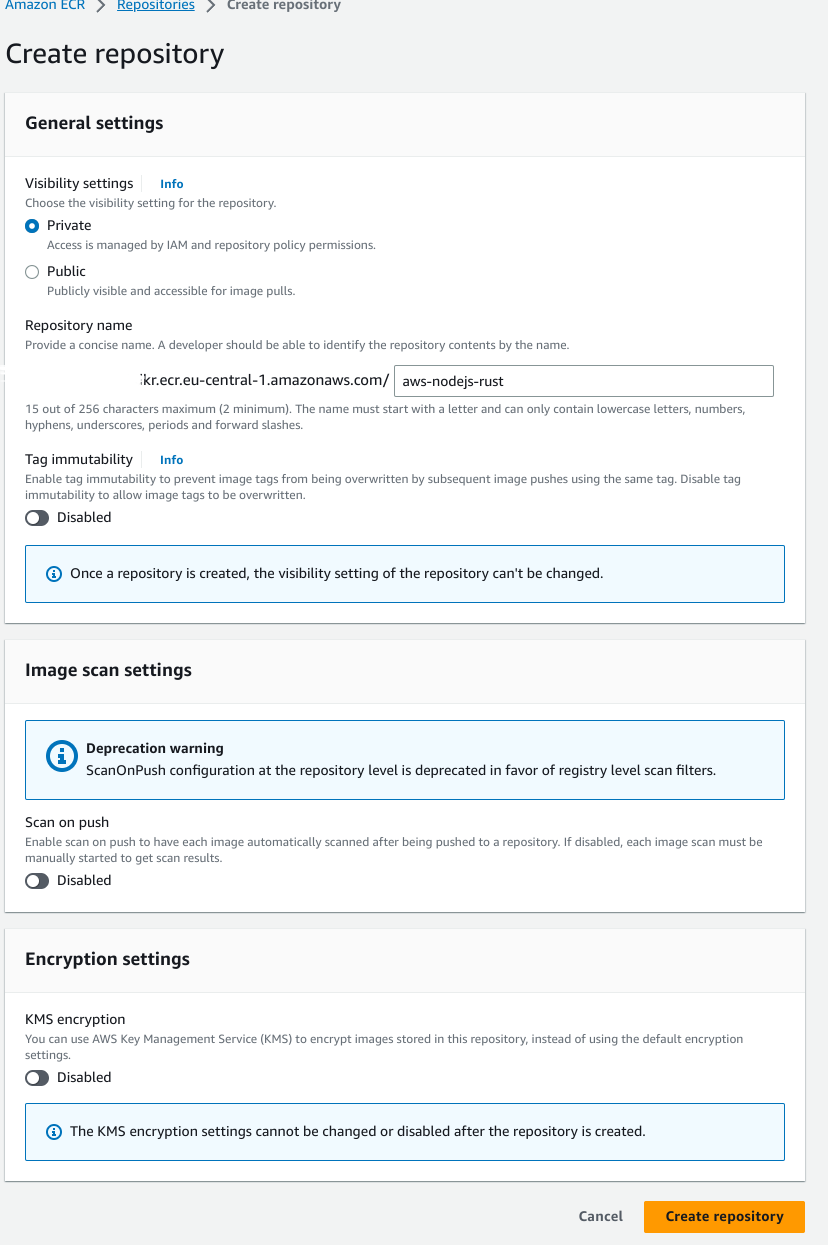
Amazon Elastic Container Registry
ECR is a private AWS registry for managing docker container images.
1. Create repository
To use it open ECR dashboard and specify a new repository. This will be a repository of your docker image. Note the repository URI, it's important for next steps.
2. Optional if using elastic beanstalk
To be able to use ECR images in elastic beanstalk, add AmazonEC2ContainerRegistryReadOnly policy to aws-elasticbeanstalk-ec2-role. https://stackoverflow.com/questions/44850578/aws-elastic-beanstalk-with-amazon-ecr-docker-image
3. Access from local machine
To log in to an Amazon ECR registry you need to issue a command:
aws ecr get-login-password --region <region_name> | docker login --username AWS --password-stdin <account_number>.dkr.ecr.<region_name>.amazonaws.comIf password fails and you get a Error saving credentials: error storing credentials - err: exit status 1, out: error storing credentials - err: exit status 1, out:pass not initialized: exit status 1
That error can easily be fixed by just rm ~/.docker/config.json and try again.
Try the login line again and you should get a Login succeeded. Now you can build and push images to your private ECR repository.
3. Build the image for ECR
docker buildx build --push --builder multiarch --platform linux/amd64,linux/arm64 -t <repositoryUri>:<tag> .Remember that repository uri I mentioned you should remember? This is when you need it.
This command will build from multiarch builder for both the amd64 and arm64 architectures.
You can verify that the image is pushed by issuing this command:
aws ecr describe-images --repository-name <repositoryName>Note that you need to enter the repository name, not the full repository uri.
You can inspect the manifest of your docker image by issuing this command:
docker manifest inspect aws_account_id.dkr.ecr.region.amazonaws.com/my-repositoryIf your image was built correctly, you should see amd64 and arm64 architectures listed.
In conclusion, building docker images for multiple processor architectures using Buildx is a powerful and efficient way to optimize your application's performance across different platforms. By using the Amazon Elastic Container Registry (ECR), you can securely store and manage your Docker images, and easily deploy them to your production environment.