
An L2TP (Layer 2 Tunneling Protocol) VPN creates a secure tunnel between your device and a VPN server.
It wasn't an easy task for me, this guide will show you how to setup an L2TP VPN connection on Ubuntu 20.04 and troubleshoot any timeout issues you might encounter.
The Easy Part: Installation
Install latest network-manager l2tp package:
sudo add-apt-repository ppa:nm-l2tp/network-manager-l2tp
sudo apt update
sudo apt install network-manager-l2tp network-manager-l2tp-gnome
At the time of writing it was 1.20.4, useful resource is github repo - https://github.com/nm-l2tp/NetworkManager-l2tp. I suggest you go through reported issues and Wiki for Known Issues.
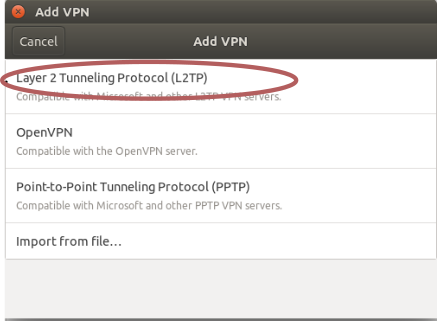
Go to Settings -> Network -> VPN -> Click a + sign -> L2TP:
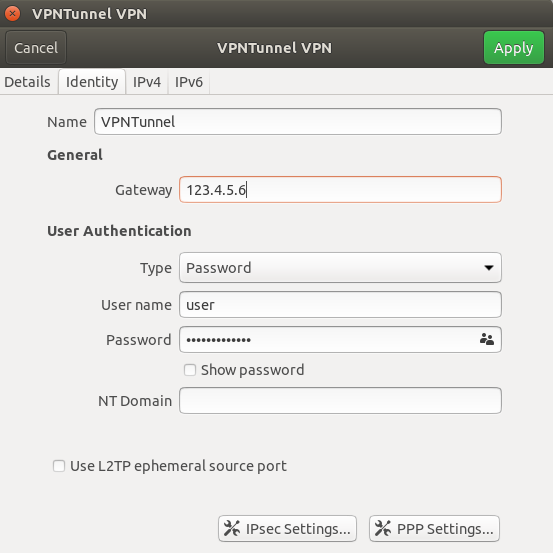
Type your gateway ip, username and password:
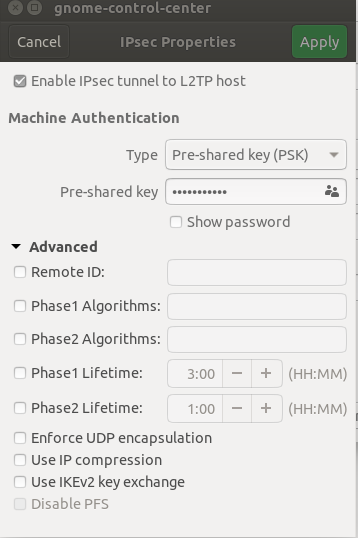
Click on IPsec Settings and type your pre-shared key, don't fill anything in Advanced, just click Apply, and Apply again.
As far as documentation I saw, that would be enough for connecting to the VPN. But nope, my VPN was constantly timeouting.
The Hard Part
Figuring out what went wrong, that was a pain.
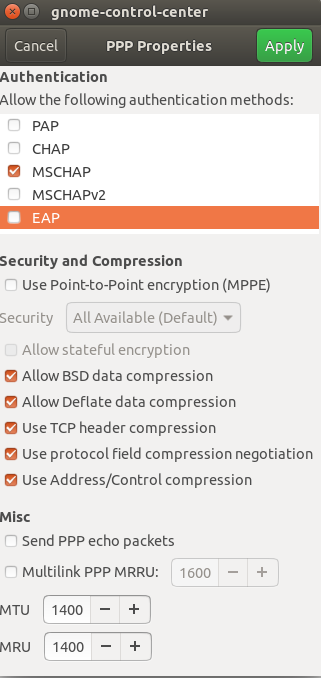
I scanned the logs in syslog and journalctl -f , found an error like "EAP: unknown authentication type".
If you get a similar error, solution would be to go to your VPN settings, then PPP settings, disable all authentication methods except one, like MSCHAP.
Click Apply, try connecting to the VPN, and hopefully you'll finally connect like I did.
Watch on Youtube.